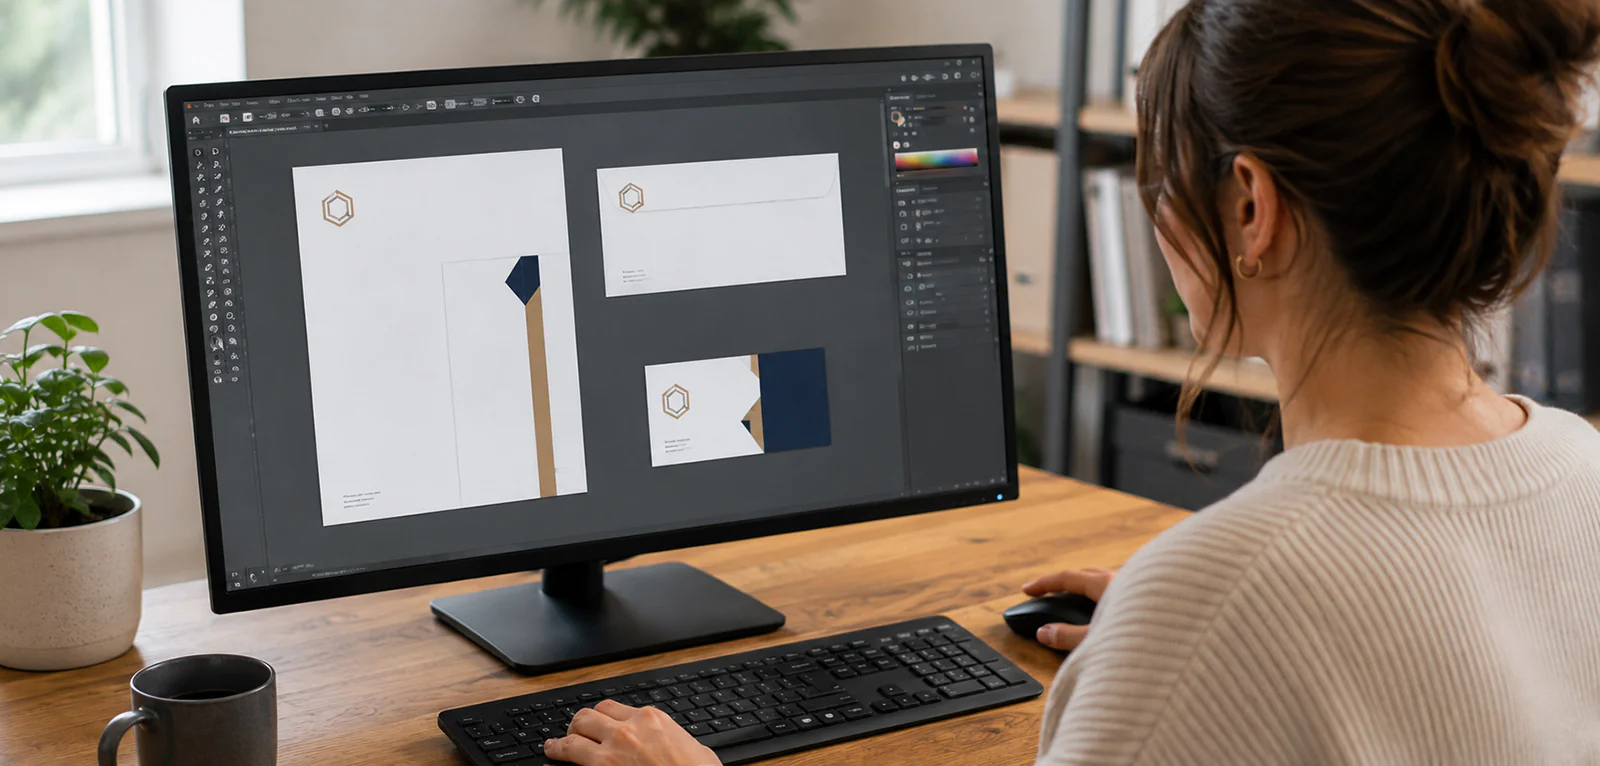
To set up a business card or stationery file that prints correctly the first time, build it at the final size plus a 1/8″ (0.125″) bleed on every edge, keep all text and logos inside a safe margin about 1/8″ from the trim line, design at 300 DPI in CMYK color, and export it as a high-resolution, print-ready PDF with fonts embedded or outlined. The reasons print jobs come back wrong are almost always the same few issues — no bleed, low-resolution images, RGB colors, or text too close to the edge — and every one of them is avoidable. Here’s what each setting means and exactly what to bring.
The 4 Settings That Matter Most
1. Bleed (1/8″)
Bleed is extra artwork that extends past the final trim line so that when the printer cuts the piece, there’s no white sliver at the edge. Extend any background color or image 1/8″ beyond every edge. Without bleed, tiny shifts during cutting leave white edges.
2. Safe margin / safe zone
Keep all important content — text, logos, contact info — at least 1/8″ inside the trim line. Anything closer risks being cut off. Think of it as a buffer that protects your message from the blade.
3. Resolution (300 DPI)
Print needs far more detail than a screen. Design and place images at 300 DPI (dots per inch) at final size. Images pulled from a website are usually 72 DPI and will look blurry or pixelated in print.
4. Color mode (CMYK)
Printers use CMYK (cyan, magenta, yellow, black), while screens use RGB. If you send an RGB file, colors can shift — bright blues and greens especially. Build your file in CMYK so what you see is closer to what you get.
Quick Reference for Common Pieces
| Piece |
Standard size (US) |
Bleed |
Safe margin |
| Business card |
3.5″ × 2″ |
0.125″ all sides |
0.125″ inside trim |
| Postcard |
4″ × 6″, 5″ × 7″, 6″ × 9″ |
0.125″ all sides |
0.125″ inside trim |
| Letterhead |
8.5″ × 11″ |
0.125″ all sides |
keep content clear of edges |
| Envelope |
varies by size |
check with your printer |
leave room for postal markings |
Sizes are common standards; confirm exact specs with your local PostNet before you build your file.
How to Export a Print-Ready File
1. Save as a high-resolution PDF
Choose the preset often labeled “Press Quality” or “Print.”
2. Include the bleed
Turn it on in the export settings so the extra 1/8″ is preserved.
3. Embed or outline your fonts
This keeps the type from reflowing or substituting on another computer.
4. Flatten or include linked images
Keep them at full resolution so images don’t downsample.
5. Double-check the color mode is CMYK
Confirm the document is set to 300 DPI too.
If that sounds like a lot, you don’t have to do it alone — that’s what the design team is for.
What to Bring (the Checklist)
- Your logo in a vector or high-resolution file (.ai, .eps, .svg, or 300 DPI PNG)
- Final text — name, title, phone, email, website, address — proofread and correct
- Brand colors, ideally as CMYK or Pantone values
- Fonts you want used (or be open to a close match)
- Any images at 300 DPI (not pulled from a website)
- The quantity and finish you have in mind (matte, gloss, rounded corners, etc.)
- A sample you like, if you have one, for reference
Don’t have print-ready files? Our design team can build your business cards and stationery from scratch or fix files that aren’t set up correctly — so you avoid a reprint.
The Most Common (and Avoidable) Mistakes
- No bleed → white edges after cutting.
- Low-resolution images → blurry, pixelated print.
- RGB instead of CMYK → colors shift from what you saw on screen.
- Text too close to the edge → important info gets trimmed off.
- Fonts not embedded → type changes on the printer’s computer.
- Wrong final size → unexpected scaling and distortion.
Catching these before printing is the difference between a clean first run and a frustrating reprint.
Frequently Asked Questions
What is bleed in printing and how much do I need?
Bleed is artwork that extends past the final trim line so there are no white edges after the piece is cut. The standard amount is 1/8 inch (0.125″) on every side. You extend any background color or image into that bleed area, then the printer trims it away, guaranteeing color reaches the very edge. Because cutting can shift slightly, bleed is essential whenever your design has color or images touching the edge. Always pair it with a safe margin that keeps text away from the cut.
What resolution should my print file be?
Print files should be 300 DPI (dots per inch) at the final size. Screens display at around 72 DPI, which looks fine online but appears blurry or pixelated when printed. If you place images, make sure they’re 300 DPI at the size they’ll appear — enlarging a small or web-sourced image won’t add the detail print needs. Vector graphics like logos are resolution-independent and scale cleanly, which is why a vector logo file is so useful for print.
Should I use CMYK or RGB for printing?
Use CMYK for anything that will be printed. CMYK (cyan, magenta, yellow, black) is the ink-based color model printers use, while RGB (red, green, blue) is for screens. If you send an RGB file, some colors — especially vivid blues, greens, and oranges — can shift noticeably when converted for print. Building your file in CMYK from the start gives you a more accurate preview of the printed result. Your printer can convert files, but designing in CMYK reduces surprises.
What file format is best for printing?
A high-resolution, print-ready PDF is the most reliable format because it preserves layout, embeds fonts, and supports bleed settings. When exporting, choose a press-quality preset, include the bleed, and embed or outline your fonts so type doesn’t change on another computer. Vector source files (.ai, .eps) are also excellent, especially for logos. Avoid sending only a JPG or a low-resolution image from a website, as these usually lack the resolution and color setup needed for clean printing.
Bring It In and We’ll Make It Print-Perfect
Whether your files are ready to go or you’re starting from a napkin sketch, the design and print team at your neighborhood PostNet will make sure your business cards and stationery come out right the first time.
Related reading: What Makes a Logo Actually Work · Tri-Fold vs. Half-Fold vs. Gate-Fold: Which Brochure Layout Fits Your Message · Business Stationery
All PostNet locations are independently owned and operated. Print and design services and specifications may vary by location.